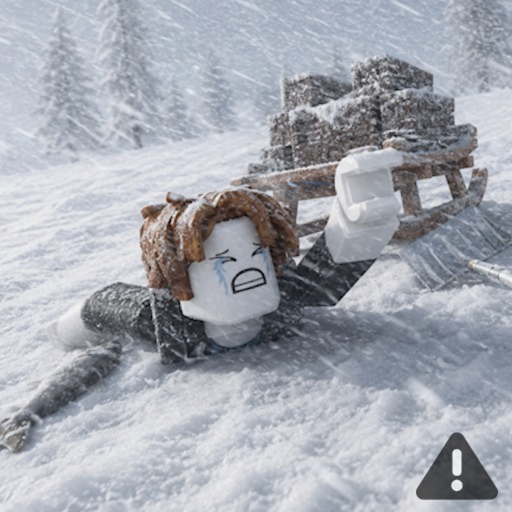
Day 3 Walkthrough
Day 3 walkthrough for Survive 7 Days In Arctic Roblox: mid-week cold spikes, shelter repairs, and resource optimization before the late-game push.
Last updated: July 2026
The Mid-Week Wall
Day 3 is where many Survive 7 Days In Arctic runs fail. Cold intensity often increases, food consumption accelerates if you are active in bad weather, and shelter wear may require repair materials you have not stockpiled. Treat Day 3 as a checkpoint: if your base is weak, fix it before doing anything else.
Players who cleared Days 1–2 efficiently will recognize Day 3 as a maintenance day more than an expansion day. That is intentional—survival games punish neglected upkeep.
Repair and Reinforce
Inspect every shelter wall and roof segment. Replace or patch damaged sections before noon. A single gap can negate hours of fire fuel investment. The Shelter Materials page explains which resources feed repairs in current alpha builds.
Reposition fire if wind patterns changed—storms may alter effective heat zones. The Fire Placement guide covers common mistakes at mid-week.
Resource Audit
Count food, wood, and tool durability. You need roughly three days of food and fuel to reach Day 7 comfortably. If counts are low, cancel exploration and focus on fishing and logging until reserves recover.
Check warmth gear status. Wet or broken clothing accelerates cold drain. Dry gear near fire before night.
Night 3 Strategy
Stay inside unless an emergency forces outdoor movement. Night 3 may spawn additional threats or weather in alpha updates—defensive positioning near fire with clear exit paths is safest.
Prepare mentally for Days 4–5 where resource scarcity peaks. Day 3 success means entering that phase with surplus, not deficit.